I found Ronnie at Construction Junction, where she1 was still attached to a cabinet that had been badly repainted and covered with decals. After some convincing from an enabling friend, I bought the whole assembly, removed the machine right there with my leatherman, and promptly re-donated the cabinet; as I understand it, plenty of people buy sewing machine cabinets to just use as tables, so the cabinet may be valued by someone who is not me. I brought Ronnie home and then I went to New York for three months.
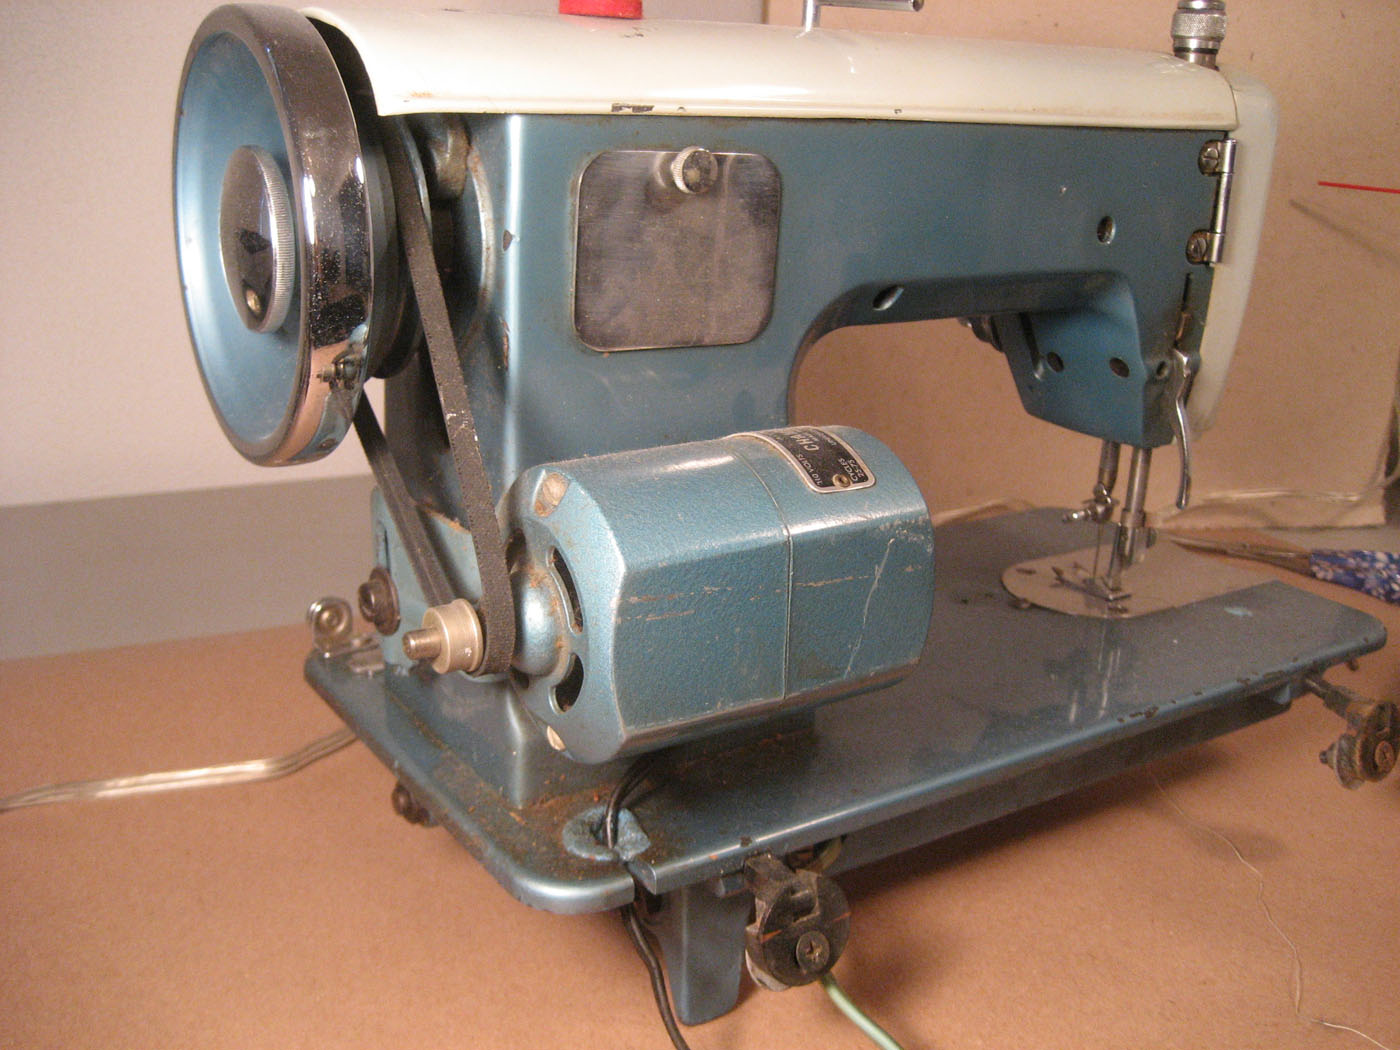
Mechanically, Ronnie was in fine shape to begin with. She was covered in dust; in some places, shamefully so. Lint accumulates very quickly in and under the feed dogs and around the bobbin and bobbin case, for the simple reason that a lot of fabric passes above those areas, but it is usually pretty easy to clean if you unscrew the throat plate.
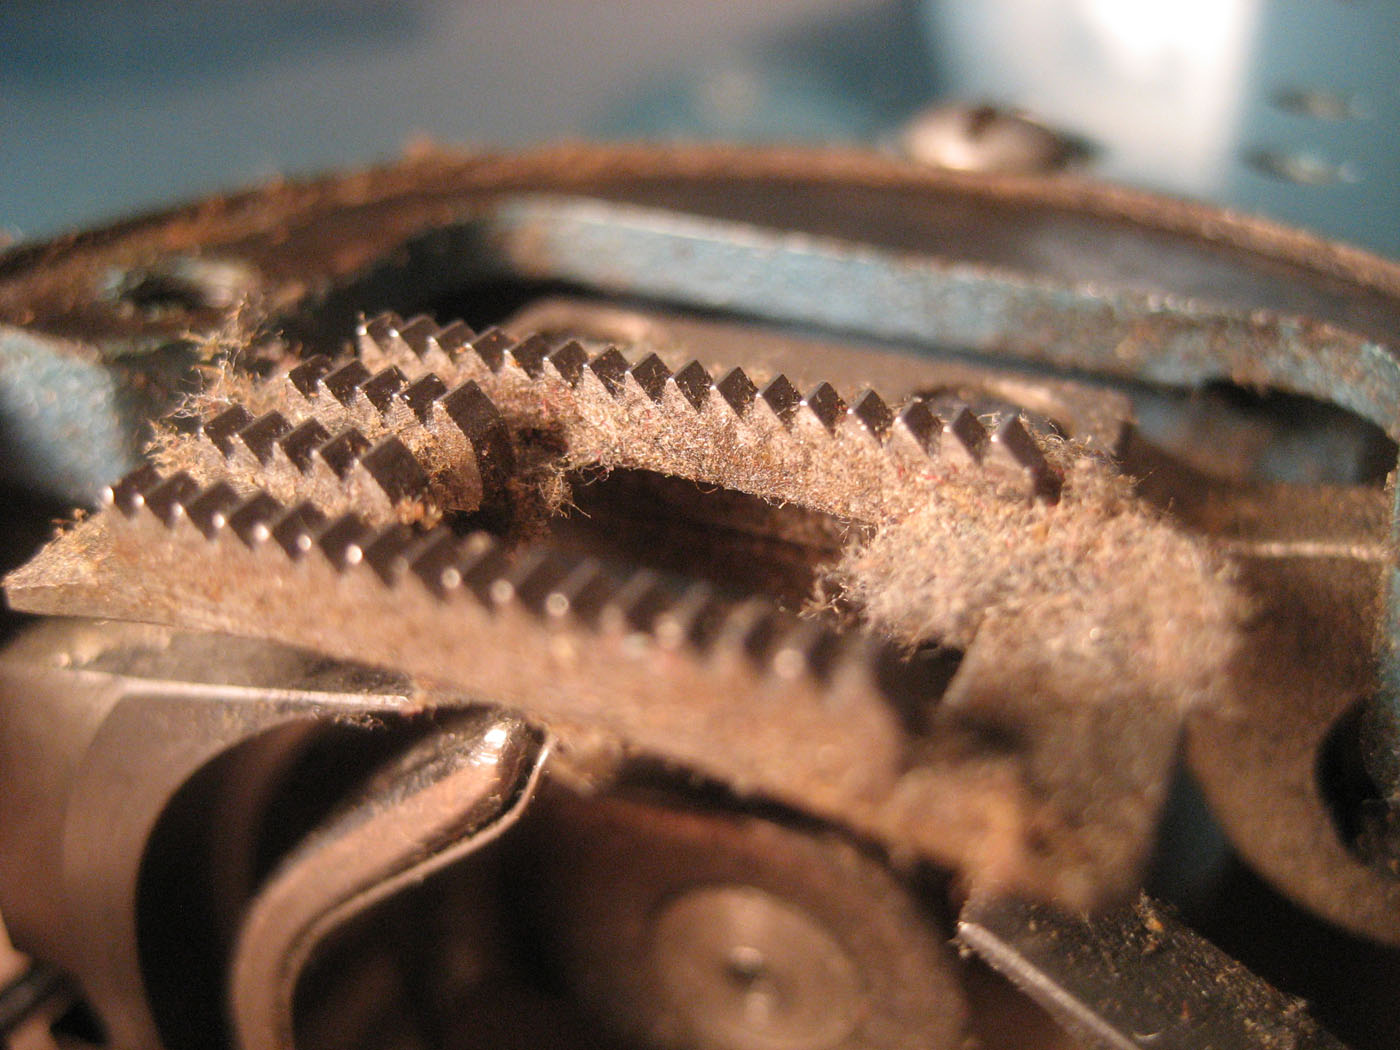 But she had no rust, and although some of her screws were somewhat stripped, I was able to get most of them out and get at pretty much all of her innards. At one point, I dropped the tabbed washer that disengages the flywheel and I couldn’t figure out how it went back on, but the Vintage Singer Sewing Machine Blog saved the day. (The crucial bit: tabs outward.) Many cotton swabs were sacrificed, but once I got the layer of grime off and some oil applied to all of her moving joints, Ronnie’s flywheel spun as smoothly as butter.
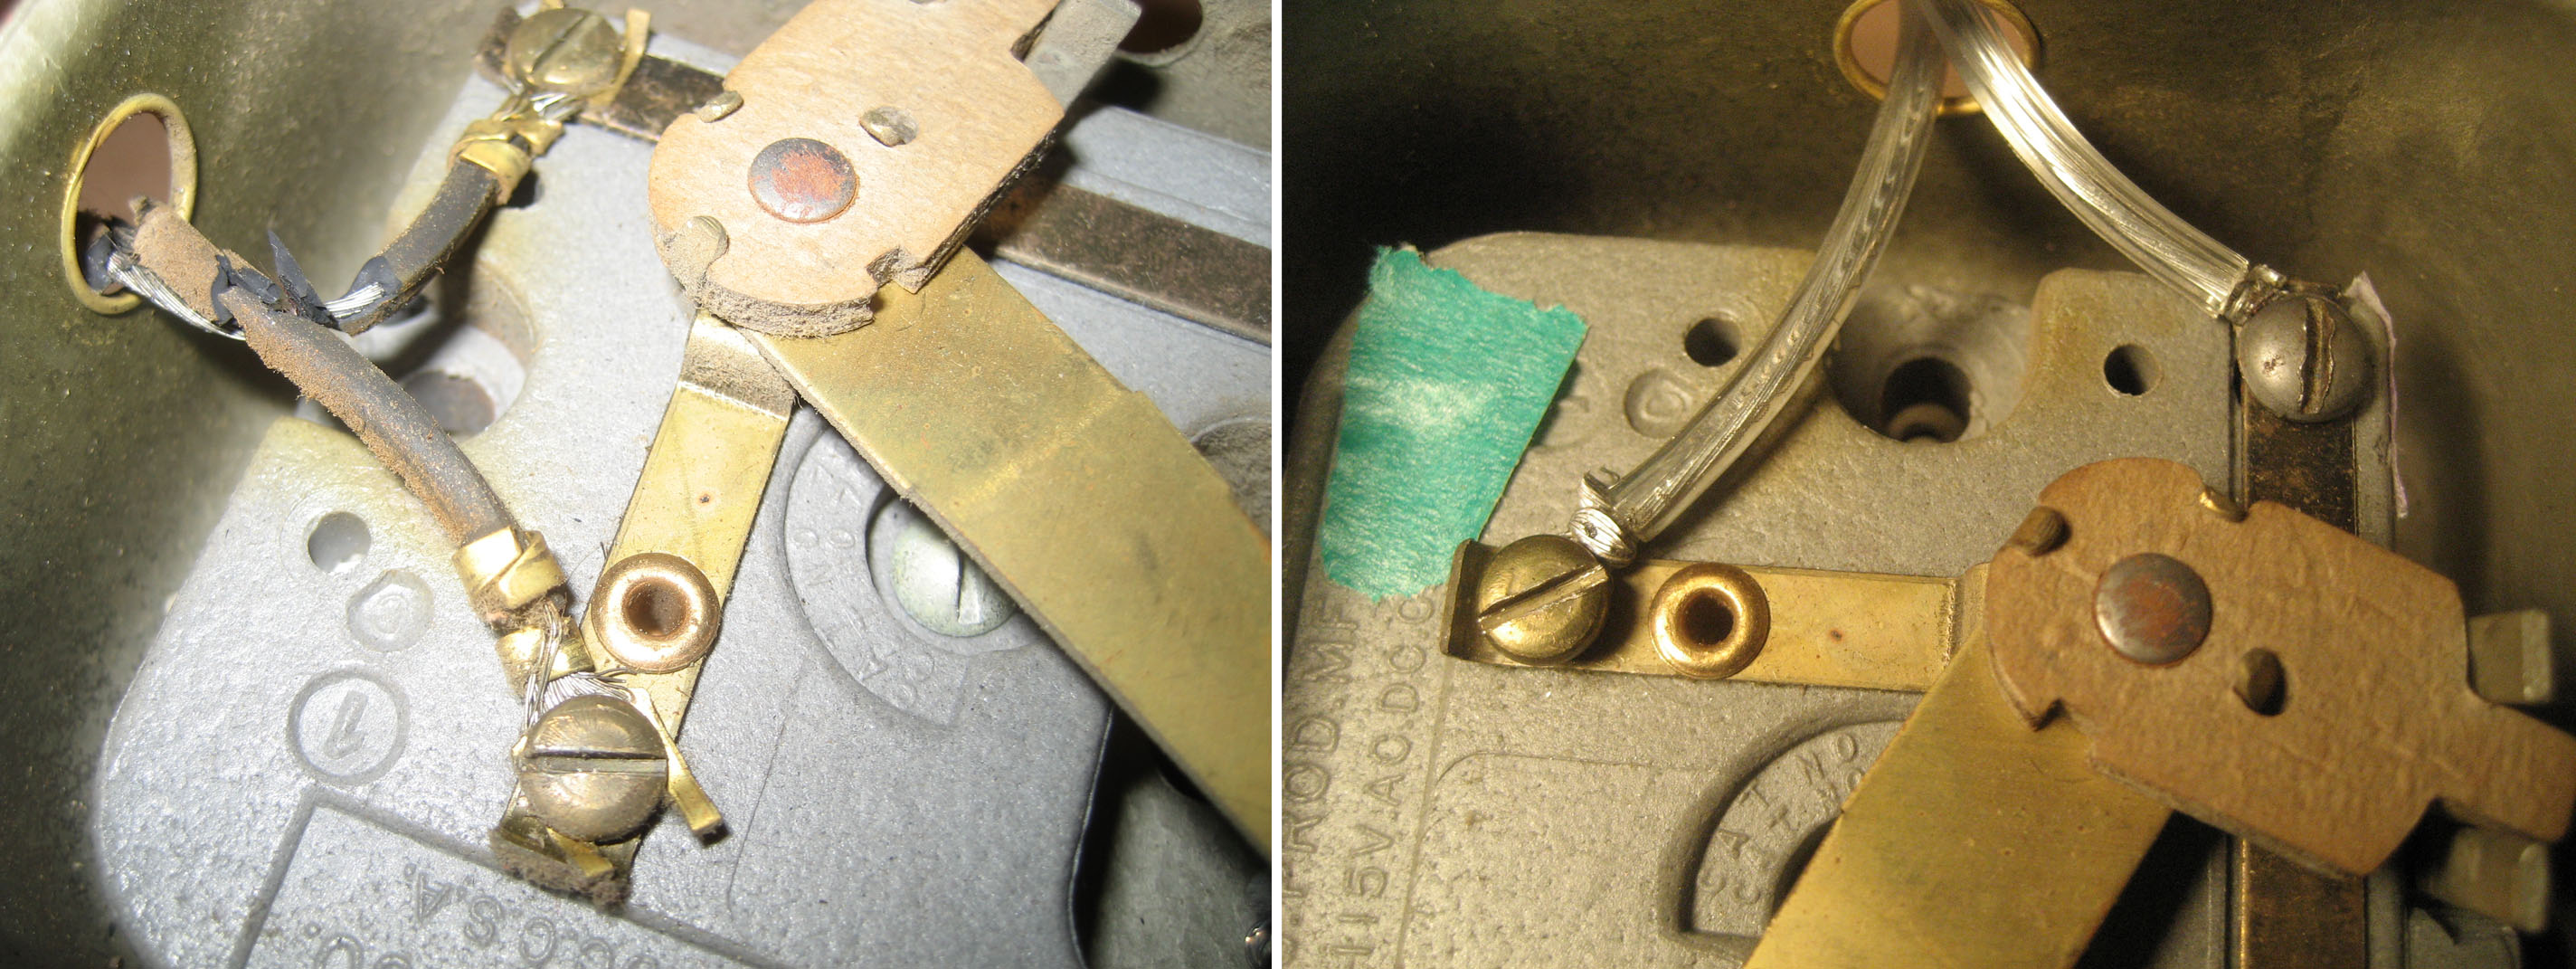
The problem was her wiring. Ronnie’s wiring is simple: the motor and the light independently plug into a box that has wires running to wall power and to the pedal (here’s an electrical diagram from the Sew-Classic blog); in the cabinet, the box was mounted under the table surface and the pedal was mounted to the inside front as a knee lever. The wiring going into her motor and light was okay, but everything else had decayed insulation that crumbled when I touched it. Not good!
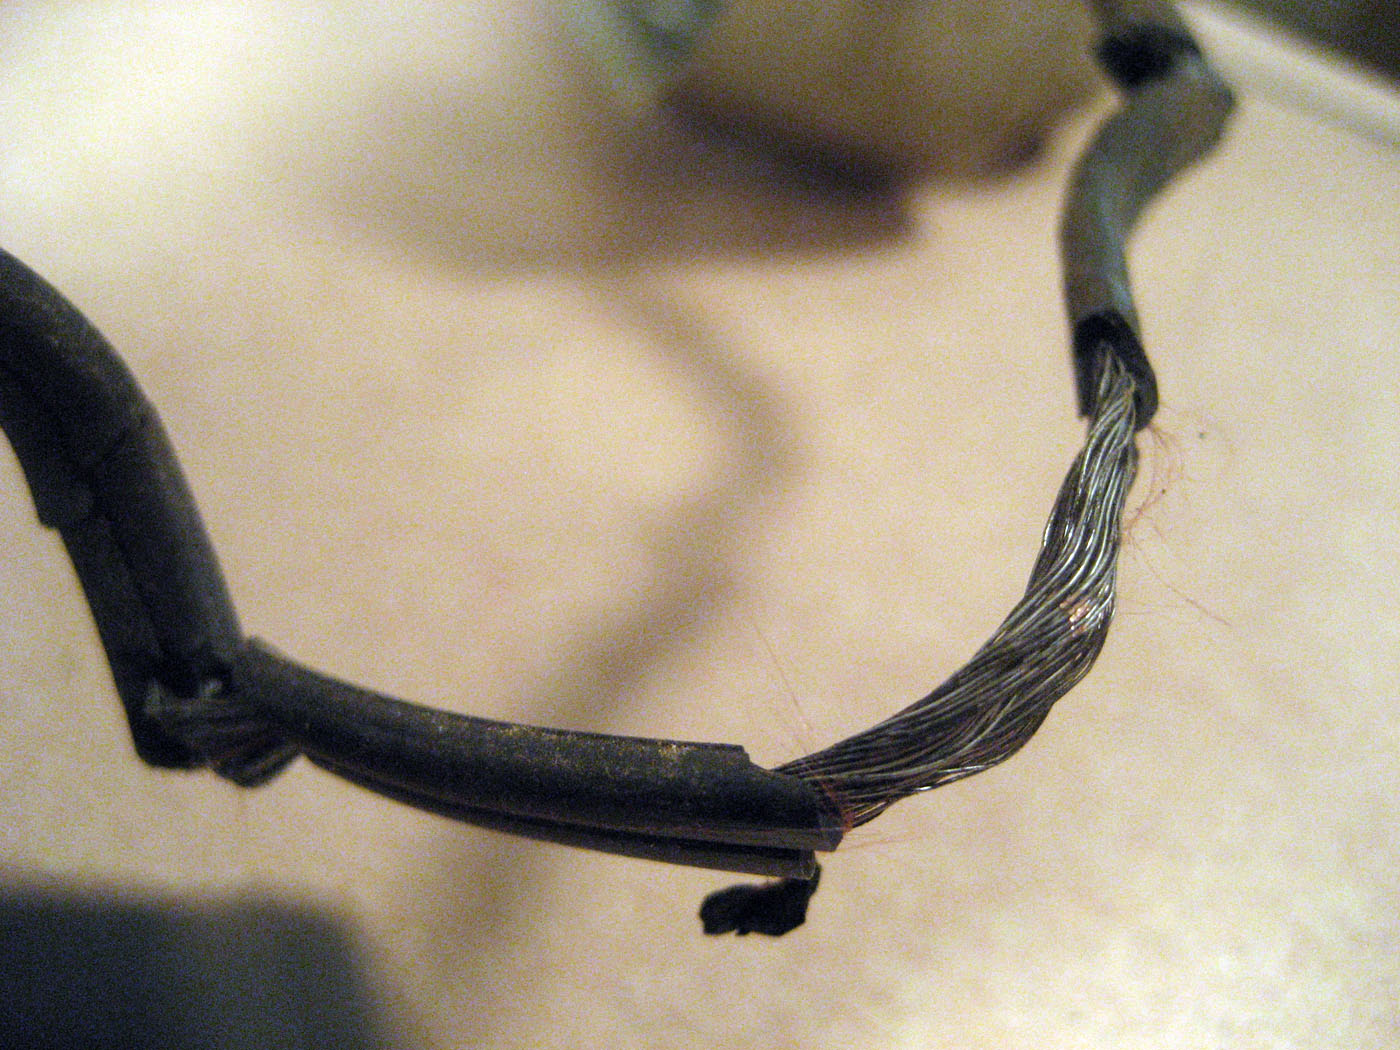 I got some lamp wire and replaced it. Here’s the bottom of the pedal, before and after.
 I also cleaned out Ronnie’s motor and checked that its brushes were in decent shape. Ronnie has a belt instead of the more complicated geared “potted” motor, but VSSMB has a lot of pictures of the inside of a sewing machine motor in its fantastic “Rewiring a Potted Motor” series. I got a lot of lint out of the case and cleaned the commutator with a pencil erasor. Before:
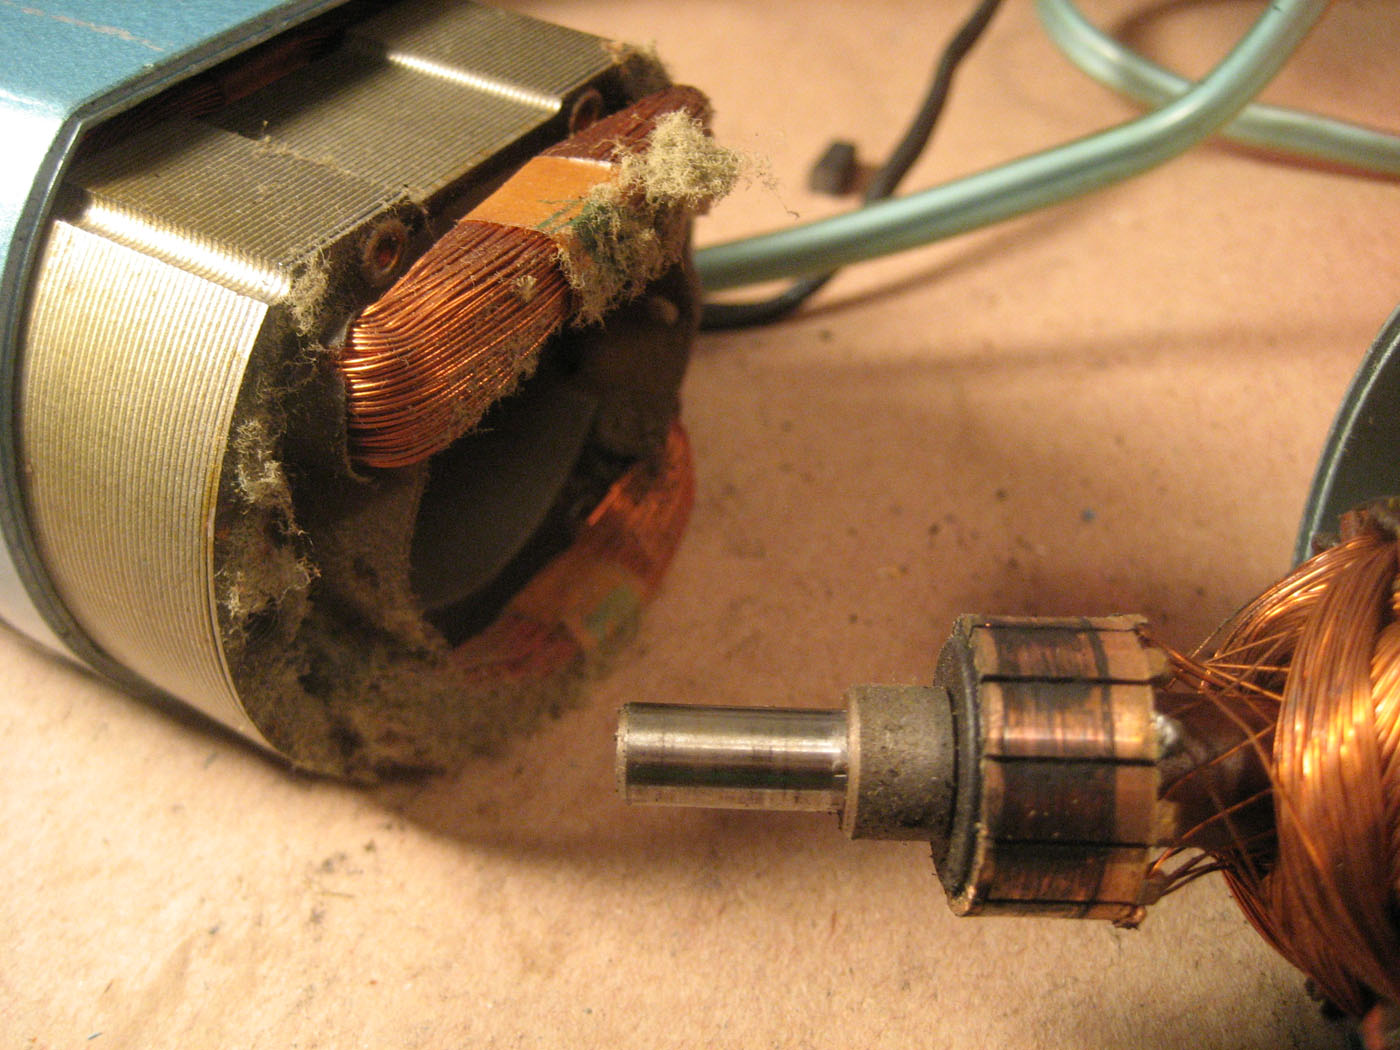 After’s like that but cleaner.
After getting all the shiny new wiring in place and cleaning up the motor, I was eager to try running Ronnie’s motor. Disappointingly, while the light was steady, the motor seemed to only work intermittently. I tracked it down to a problem with the motor’s plug — when I pushed down on it, the motor worked fine, so it seemed that it was just a shaky electrical connection in the plug itself. When I opened up the plug, I was kind of surprised that it had ever worked. The plug is the sort that just clamps onto the wire, with little prongs at the back of each blade that stab through the insulation to the wire and a clip that holds the whole thing together.
 Very quick to manufacture with, presumably, but hardly a dependable solution. So another week passed while I waited out the Polar Vortex and got to Home Depot to buy another plug.
I ordered a new belt and bobbin winder tire as well as some bobbins from the amazing Sew-Classic shop, because the bobbin winder tire was decayed and stretched out and I figured a new belt and extra bobbins couldn’t hurt. Sew-Classic also sells things like new carbon brushes for motors, feed dogs, and all of the tiny screws and springs that one could possibly want to do a much more intensive restoration than this. It’s a fascinating shop.
At this point, a taxonomical interlude: so, what kind of sewing machine is Ronnie? I was curious anyway, but I also needed some direction in how to order the parts from Sew-Classic. The immediate visible clues are her badges — one from Gimbels, the department store, and one that says “Super De Luxe Precision Zig-Zag Made in Japan” — and her clear 1960’s flair. She also has some unusual features, such as her stitch length dial and lever and the three buttons on her base for “Normal,” “Silk,” and “Embroidery.”
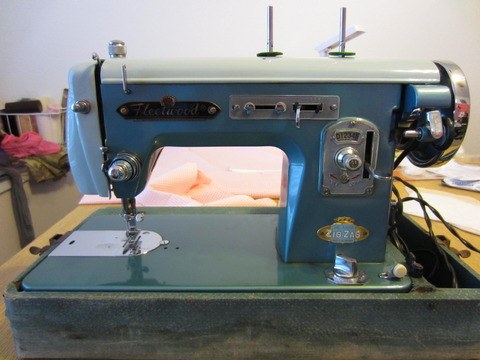
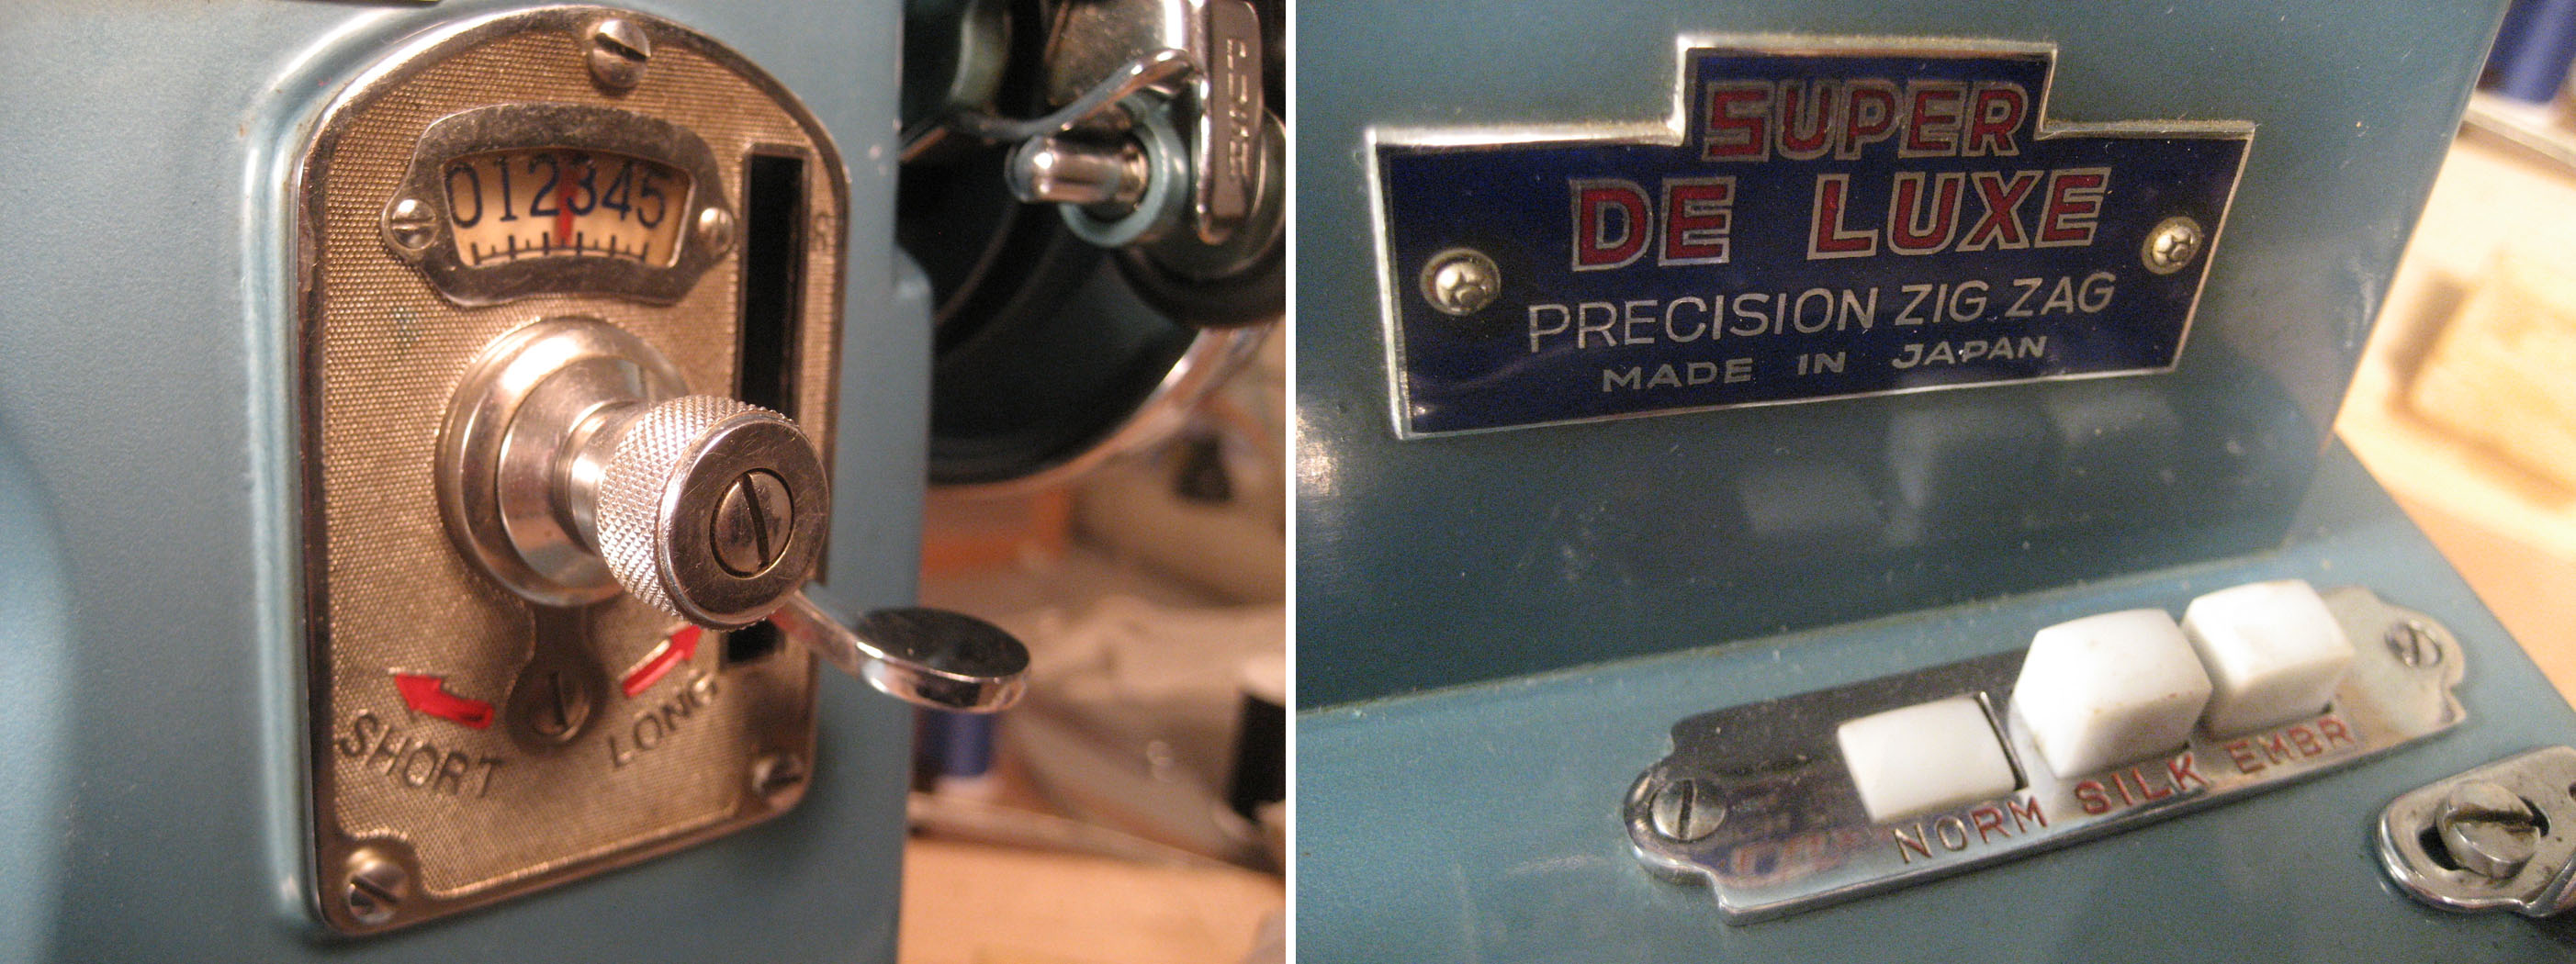 The Gimbels badge is a red herring, because it is common for department stores and other such brands to “badge” machines made by someone else entirely, but “Made in Japan” tells us pretty much the whole story. Ronnie could have been made by any of dozens of Japanese companies, and she was probably “manufactured as parts and subassemblies in separate businesses”. There’s a Vintage Japan Sewing Machines yahoo group, which I joined for access to their picture archive (this was actually the most frustrating part of my entire Ronnie restoration project, because Yahoo’s servers apparently can’t handle people joining their groups?) and I was delighted to find glimpses of Ronnie’s features on a wide variety of other machines. Here’s a “Fleetwood” with her stitch length and width adjusters, identical body, and a suspiciously similar color scheme and badge.
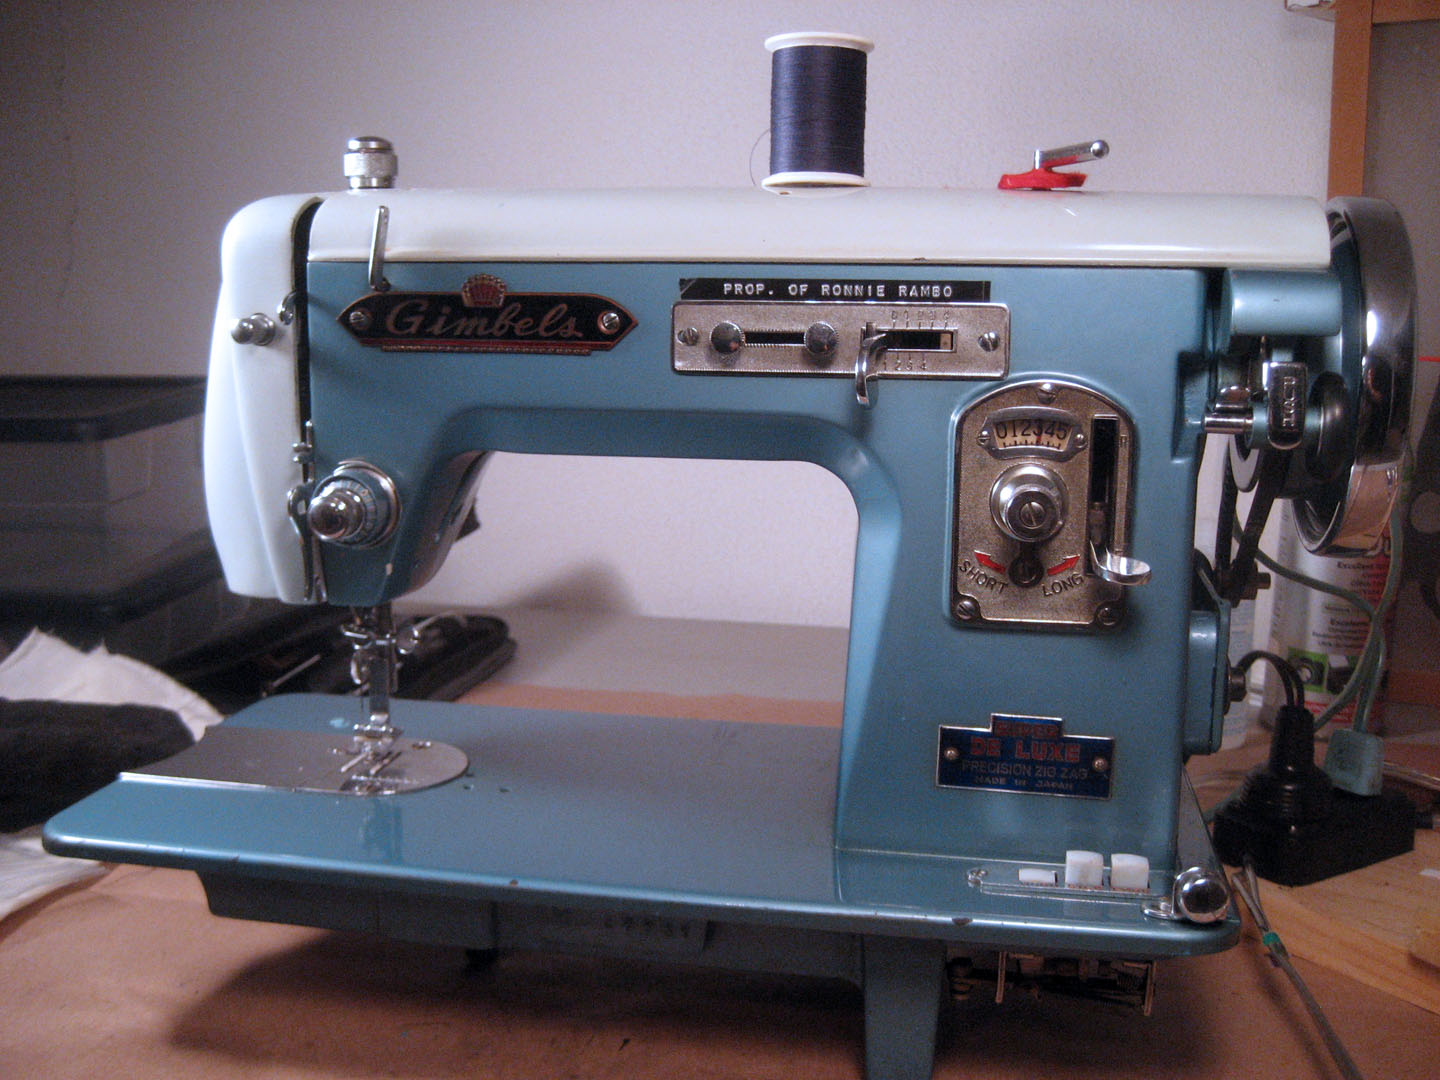
 And here’s Ronnie. As far as I can tell, the differences are the throat plate (Ronnie’s has a curved edge and no divot), the feed dog buttons, and the style of the “Made in Japan” badge:
The official advice from Sew-Classic was that Ronnie is a “Class 15” machine. I’m not sure exactly what this entails, since most of the other machines I’ve seen labeled as Class 15 have their tension assembly at the back of the machine and have a more generally 40’s-50’s look, but the recommended bobbin tire and bobbins fit Ronnie. (Well, the bobbins fit in the bobbin carriage, but only some of them fit in the bobbin winder. The others have too shallow of a notch to seat properly. The sales page warned that there could be some precision issues with repro metal bobbins, and this is a problem easily fixed with a file, so no big deal.)
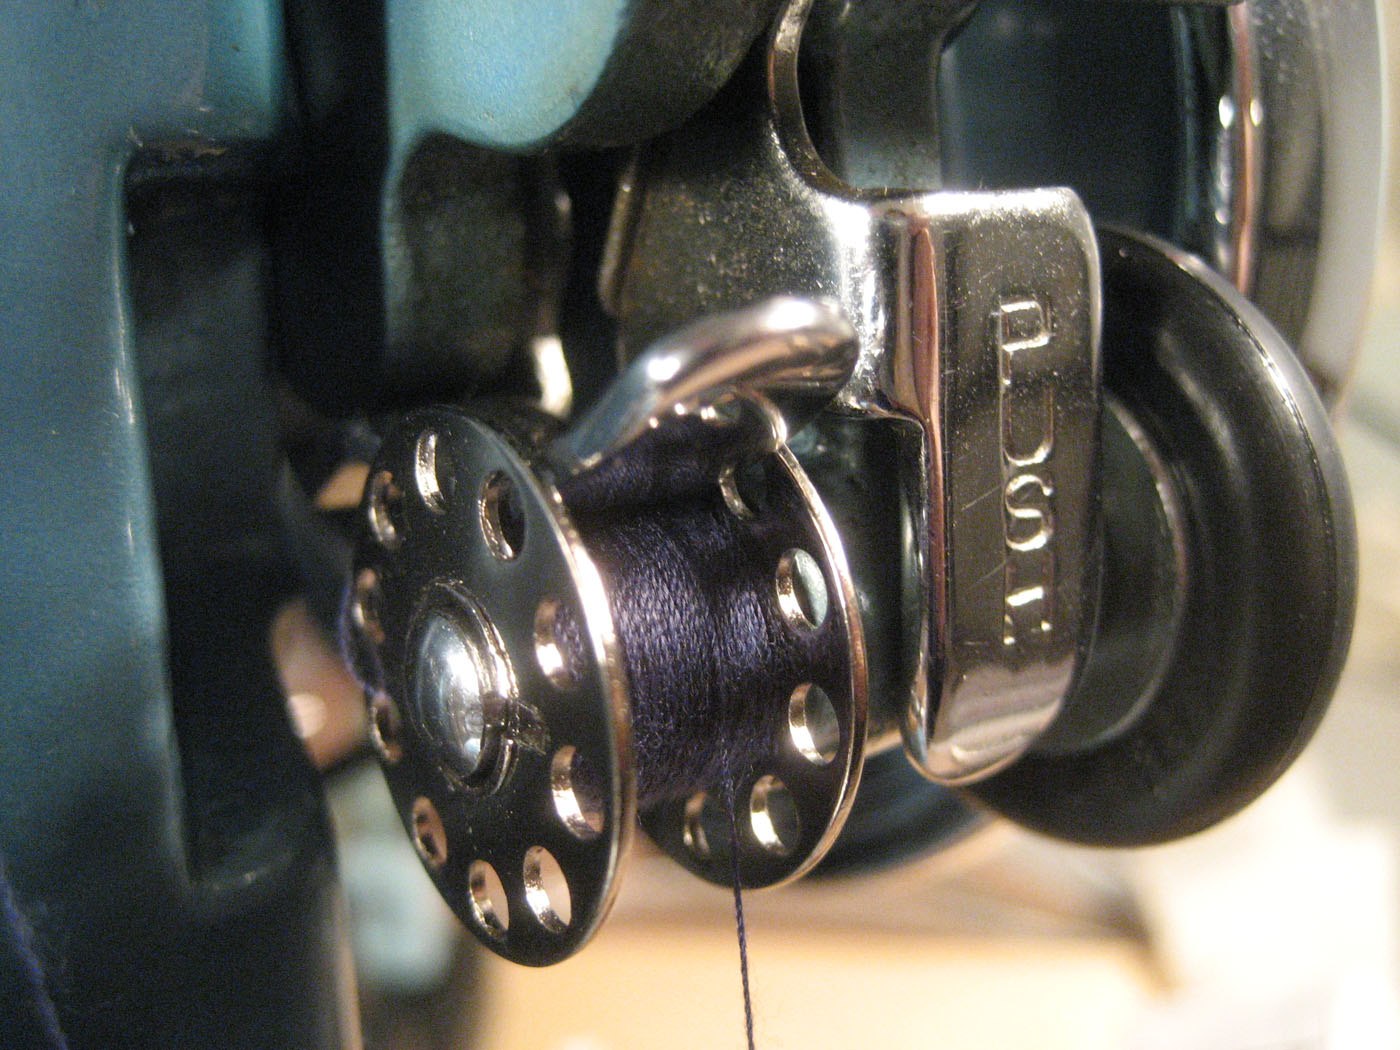 I adjusted the bobbin tension using this trick, illustrated at this blog post. Threading Ronnie is pretty standard, but I did watch half of a YouTube video to be sure. The top thread tension assembly seems to run really tight — even on ‘0,’ her top thread was a bit too taut. I took it apart to clean it and make sure everything’s lined up (see this other blog post if you’re curious what that looks like), but that didn’t seem to change anything, so I tightened the bobbin tension a bit and called it good enough for now. You can see how wobbly the stitches are:
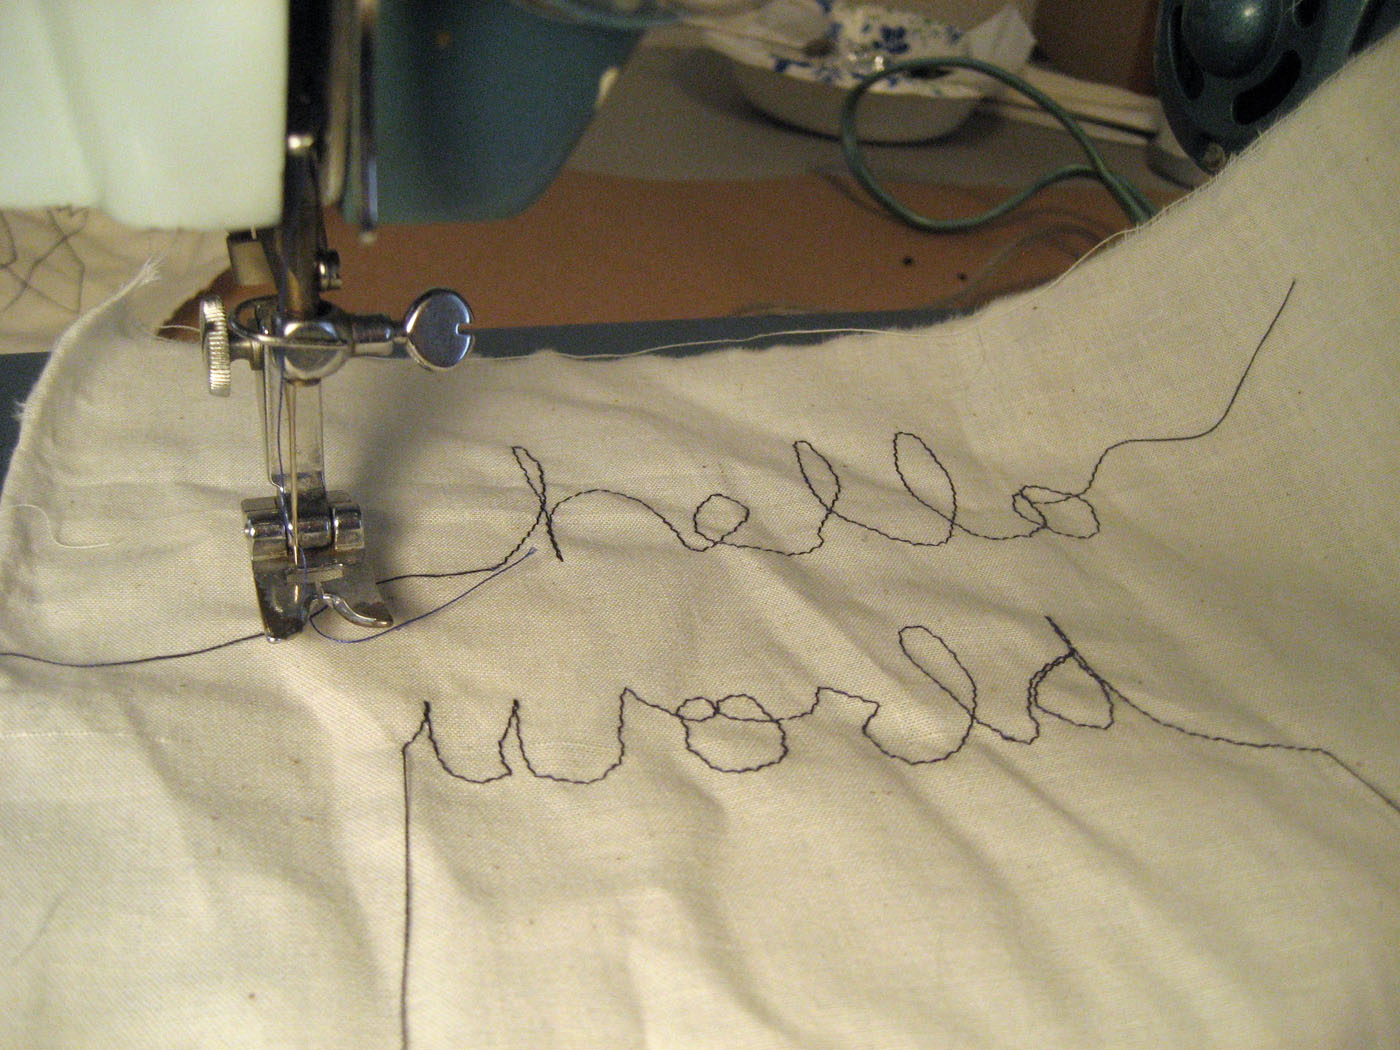 Which brings us to future work: for starters, figure out what’s up with the tension and see if I can get those stitches a little more beautiful. Also, as you can see above, my machine embroidery skills aren’t great, but they’d be a bit better if I could figure out how Ronnie’s feed dog drop feature works. It’s not a feature I really care about — I’m not a quilter, and I don’t think I’ve ever used it at all on my other machine — but I want to understand it. I also need to pad the base of the pedal to keep it from scratching up the floor, and I should attach the wiring box to something less ungainly than the scrap of lumber it’s on now. A stretch goal is to make a base of some kind for Ronnie to sit in, possibly with a bobbin compartment.
The total cost of all this was $57, including a new can of machine oil, a stretch belt that I didn’t end up using, and quite a bit of leftover wire and heat shrink tubing.
I now have three sewing machines. My main machine is a Huskystar 224, which I bought with my life savings as a teenager, and about which I agree with this blog post; other than some trouble with particularly stretchy fabrics, zie’s never let me down. My second machine is a Featherweight whose serial number indicates that she was made in approximately March 1936, and I bought her after reading Peter at Male Pattern Boldness gushing about straight stitch machines for topstitching and detail work. However, I’ve recently discovered the joy of teaching friends to use a sewing machine, and I’m too protective of those two machines to be happy lending them out. (Though the Huskystar, with hir speed-capping slider and autocompleting stitches, is a great learning machine!) So I look forward to using Ronnie as a guest machine — she should be pretty hard to break, learning how to sew with her is much like learning to use most other machines, and I think she exudes friendly charm. Let me know if you’d like to learn how to use a sewing machine!
-
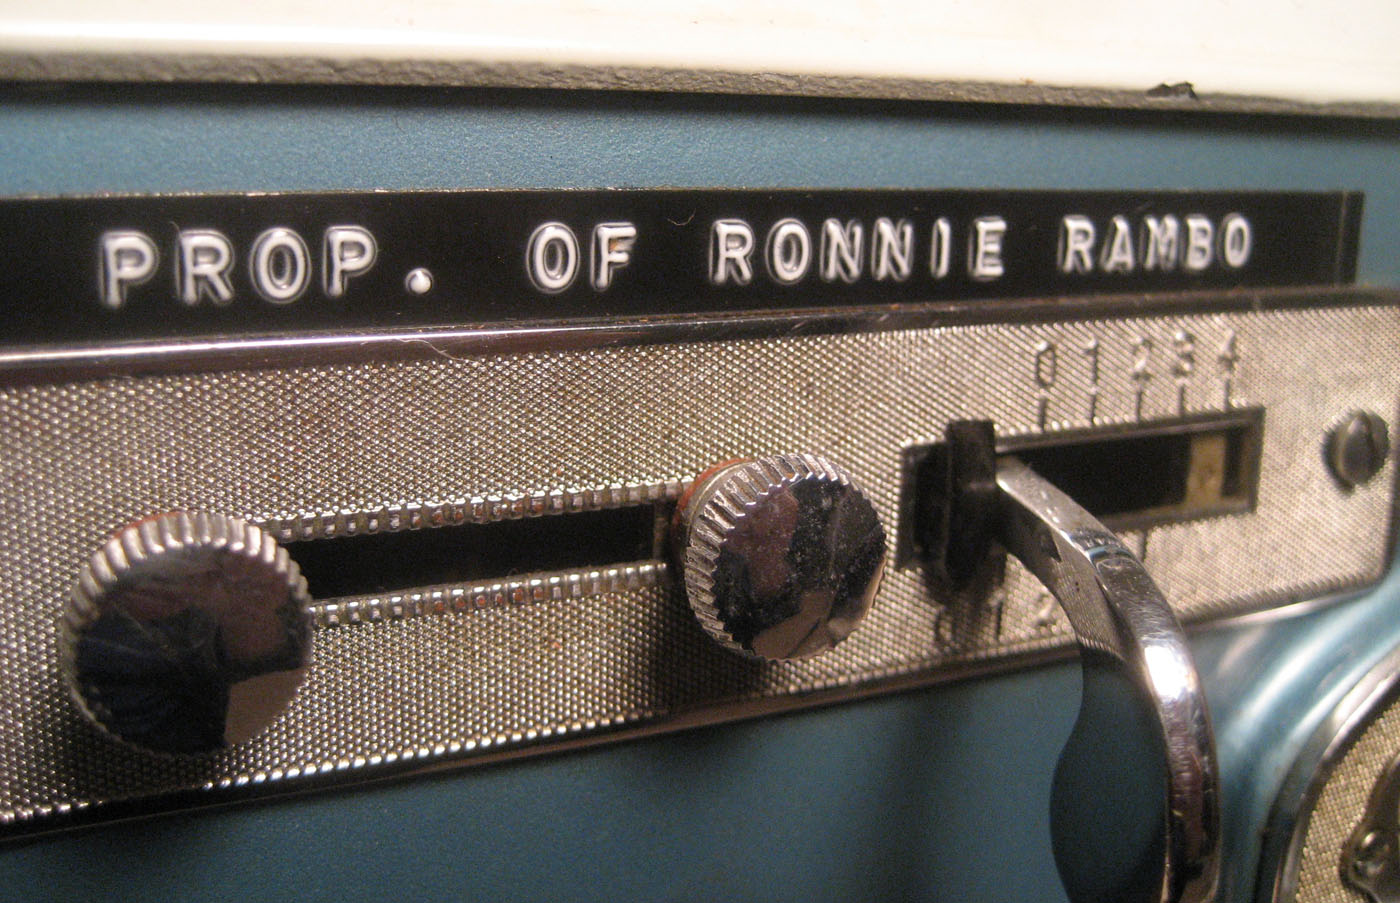
A note on pronouns: it’s somewhat popular to default to referring to sewing machines with feminine pronouns, like ships, and this often strikes me as an absurd thing to do. But it’s true that I anthropomorphize my machines, and I seem to gender some of them as well. My main sewing machine and my computer are neither named nor gendered (my computer’s hard drive is named Ludmilla, but I don’t think of the entire computer as being named), and I used to think of my moped as unnamed but male. My Featherweight is Betty, though, and as soon as I noticed Ronnie’s label, the name and gender stuck. I tried writing this post with “it” and “zir” but neither felt right.↩